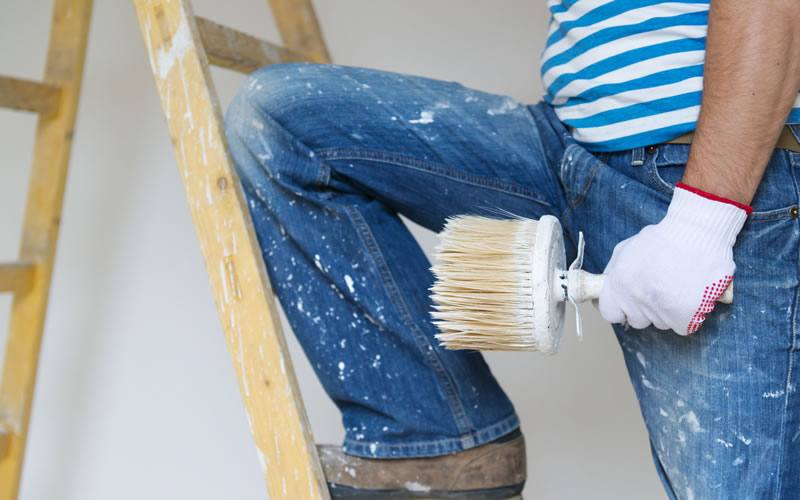
Painting is one of the most transformative and budget-friendly ways to refresh a space, allowing you to breathe new life into a room, add curb appeal to your home, or even create an inviting atmosphere for guests. While painting may seem straightforward, many homeowners and DIY enthusiasts find themselves frustrated by common mistakes that can mar the final result. Understanding these pitfalls and how to avoid them can save you time, effort, and money, ensuring a professional-looking finish.
One of the most common painting mistakes is inadequate preparation. Rushing through the prep work to get to the fun part—applying paint—often leads to disappointing results. Proper preparation includes cleaning surfaces to remove dirt, grease, and grime, sanding rough spots, filling in holes and cracks, and priming the walls if necessary. Skipping these steps can lead to uneven paint application, peeling, and poor adhesion. Taking the time to prepare surfaces properly is crucial for a smooth, long-lasting finish.
Another frequent error is using low-quality tools and materials. Opting for inexpensive brushes, rollers, and paint might seem like a good way to save money, but it often results in a subpar finish. Low-quality brushes can leave bristles in the paint, and cheap rollers may produce an uneven texture. Investing in good quality tools ensures better coverage, a smoother finish, and fewer headaches along the way. Additionally, using high-quality paint may improve durability and color retention.
Applying too much or too little paint is also a common issue. Applying too much paint can lead to drips, streaks, and an uneven appearance. Meanwhile, applying too little paint can result in poor coverage and may require multiple coats to achieve the desired look. The key is to load your brush or roller with the right amount of paint and apply it evenly, using long, smooth strokes. Following the recommended coverage instructions on the paint can also help achieve the best results.
Failing to use painter’s tape correctly is another mistake that can lead to sloppy edges and an unprofessional finish. Painter’s tape is essential for achieving clean, sharp lines, especially when painting different colors next to each other, such as on trim or accent walls. However, it’s crucial to apply the tape carefully, pressing it down firmly to prevent paint from seeping underneath. Removing the tape too soon or too late can also cause the paint to peel off with it. It’s best to remove the tape when the paint is still slightly wet for the cleanest edge.
Another common blunder is painting in unfavorable conditions. Temperature and humidity can greatly affect how paint dries and adheres. Painting in extreme temperatures—either too hot or too cold—can cause paint to dry too quickly or not at all, leading to cracking, peeling, and uneven drying. High humidity can also prolong drying times and result in a tacky finish. It’s best to paint in moderate conditions and follow the manufacturer’s guidelines for optimal temperature and humidity levels.
Choosing the wrong paint finish for the project at hand can also be a costly mistake. Different finishes—such as matte, eggshell, satin, semi-gloss, and gloss—are suited for different applications and environments. For example, high-gloss finishes are more durable and easier to clean, making them suitable for high-traffic areas and kitchens, while matte finishes are better for hiding wall imperfections but are less resistant to stains. Understanding the properties of each finish will help you choose the best option for your needs.
Neglecting to mix the paint thoroughly is another frequent oversight. Paint can settle over time, causing pigments and other components to separate. Failing to stir the paint adequately can result in inconsistent color and texture application. Use a paint stirrer or a mechanical paint mixer to ensure the paint is fully integrated before you begin. Stir periodically during the painting process to maintain uniformity.
Overlooking proper ventilation during painting can lead to health risks and unwanted odors lingering in your home. Many paints contain volatile organic compounds (VOCs) that can be harmful if inhaled in large quantities. Ensuring adequate ventilation by opening windows and doors or using fans can help dissipate fumes and speed up drying times. Opting for low-VOC or zero-VOC paints can also minimize the risk of exposure.
Not allowing enough time for the paint to dry between coats is another mistake that can lead to a flawed finish. Each coat needs ample drying time to ensure proper adhesion and avoid ruining the previous layer. Rushing the process can result in smudges, streaks, and an uneven surface. Follow the manufacturer’s recommended drying times, and be patient to achieve the best results.
Finally, underestimating the importance of cleanup is a common mistake that can affect the lifespan of your painting tools and the quality of future projects. Properly cleaning brushes, rollers, and other tools immediately after use prevents paint from hardening and makes them reusable. Use the appropriate cleaning solution—water for latex paints and mineral spirits for oil-based paints—to remove all paint residue.
Painting can be a rewarding and transformative DIY project when done correctly. By avoiding these common mistakes—such as inadequate preparation, using low-quality tools, improper paint application, incorrect use of painter’s tape, painting in unfavorable conditions, choosing the wrong finish, neglecting to mix paint thoroughly, overlooking ventilation, not allowing enough drying time between coats, and neglecting cleanup—you can achieve a professional-looking finish that enhances the beauty and value of your home. Taking the time to understand and address these pitfalls will ensure your painting project is a success, leaving you with results you can be proud of.
